What Are the Three Stages of Landscaping?

ifo5mypo7m3orreu • November 13, 2025

The three stages of landscaping, design, development, and maintenance, form the foundation of every successful outdoor transformation. You can start from scratch with design and then bring your vision to life through development, or simply maintain an existing landscape to keep it thriving. Each stage contributes to a landscape that strikes a balance between functionality, aesthetics, and long-term value.


The best landscape designer in Sandy, UT , carefully analyzes the land, creates tailored designs, and selects durable materials to ensure every project complements the property’s unique features while aligning with the homeowner’s goals. Understanding these stages enables property owners to make informed decisions that result in sustainable and visually appealing outdoor spaces.


Stage 1: Initial Planning and Assessment

The first stage of landscaping focuses on planning and assessment, laying the groundwork for a cohesive and efficient design process. Experts conduct a detailed site evaluation, examining soil quality, drainage, sunlight exposure, and existing vegetation. These factors reveal the land’s strengths and challenges, allowing for accurate project planning.

This phase also involves setting a budget, timeline, and project objectives. Homeowners often share preferences, inspirations, or feedback from prior experiences to help align the plan with their expectations. With a clear strategy in place, landscapers can create a roadmap that maximizes space potential while meeting both aesthetic and functional goals.


Stage 2: Landscape Design Development

The design development stage transforms ideas into visual plans. This is where creativity meets technical expertise, ensuring the final design is both practical and visually compelling. The process includes:

Conceptualization: Designers brainstorm and sketch layout options that integrate plants, pathways, lighting, and water features.

Detailed Planning: Selected concepts are converted into precise blueprints, specifying plant species, materials, and hardscaping details.

Client Collaboration: Continuous communication ensures the design reflects the homeowner’s lifestyle, vision, and budget.

Professionals use customer input and expert insights to produce a cohesive design that enhances curb appeal, usability, and long-term property value.


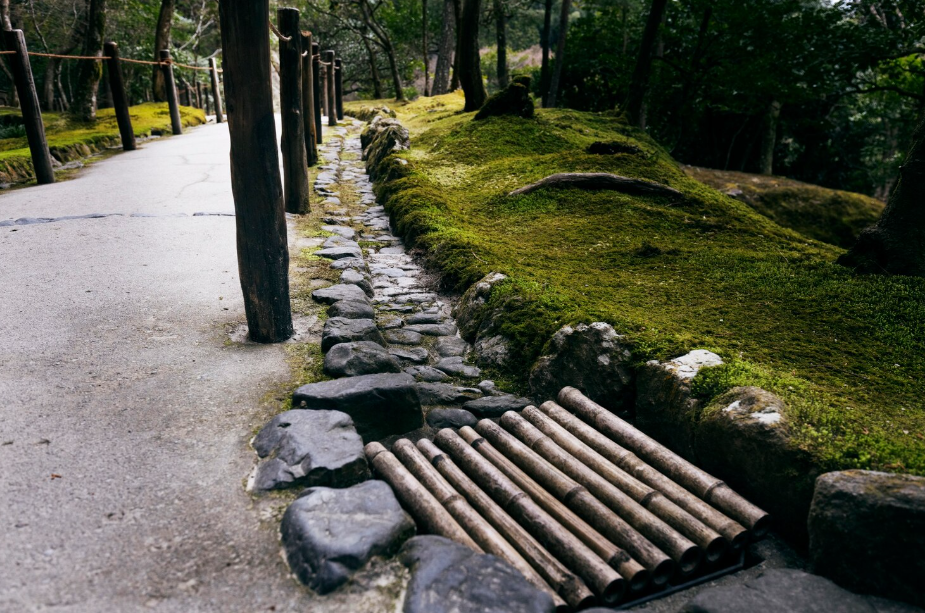
Stage 3: Material Selection and Procurement

In this stage, the focus shifts to selecting and sourcing materials that bring the landscape design to life. Every choice, from natural stone and timber to concrete pavers, affects durability, appearance, and maintenance needs.

Procurement specialists coordinate with trusted suppliers, inspect materials, and manage deliveries to ensure consistency and quality. This meticulous process ensures the finished landscape remains visually appealing and structurally sound for years to come.


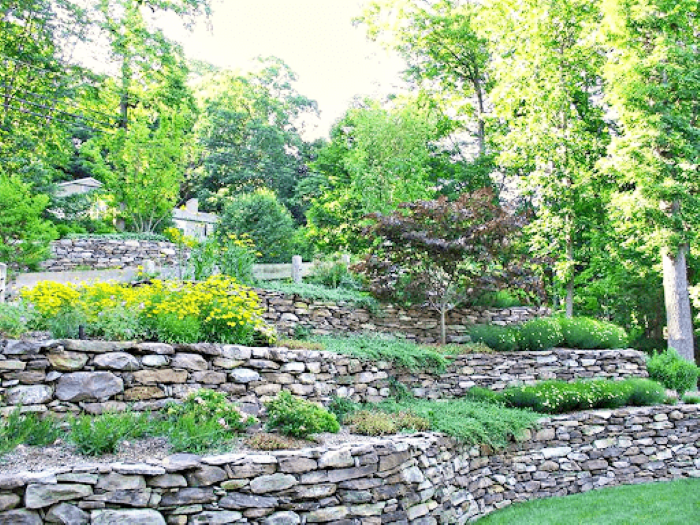
Site Preparation and Installation

After planning and design are finalized, site preparation and installation turn the blueprint into reality:

Surveying the Site: Assess soil, drainage, and vegetation to determine optimal preparation methods.

Clearing and Grading: Remove debris and level surfaces for stability and proper water flow.

Installing Hardscapes: Build essential structures such as retaining walls, patios, or walkways based on the approved design.

These steps provide the physical foundation for both softscaping and hardscaping elements to thrive.


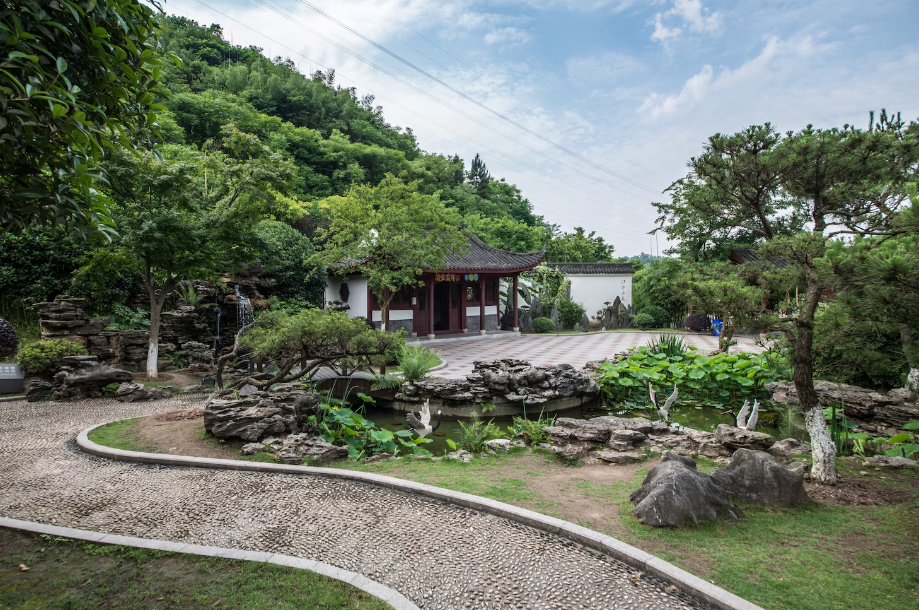
Planting and Hardscaping

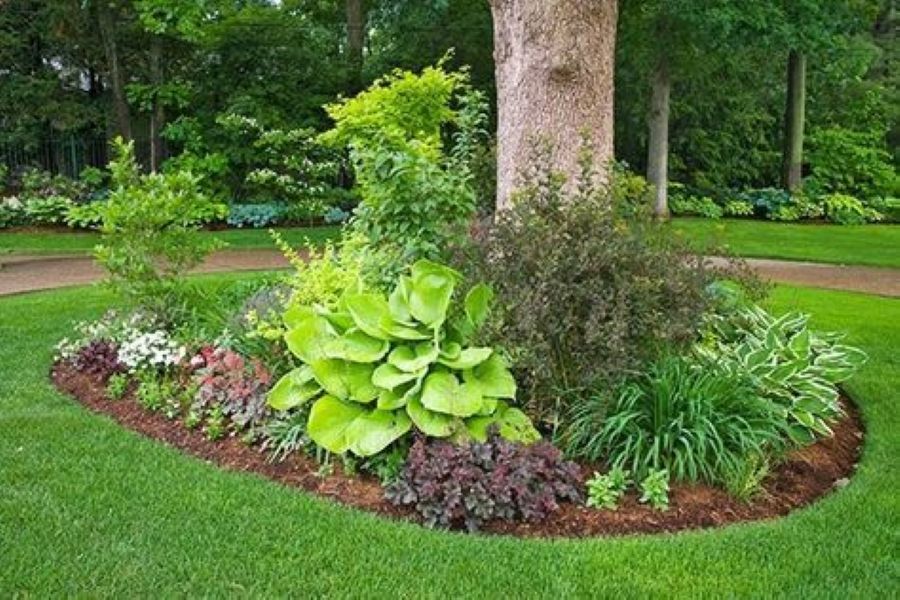
During this phase, plants and structural elements are strategically placed to achieve a balanced, inviting look. Professionals consider factors such as local climate, soil type, and plant compatibility to ensure sustainability.

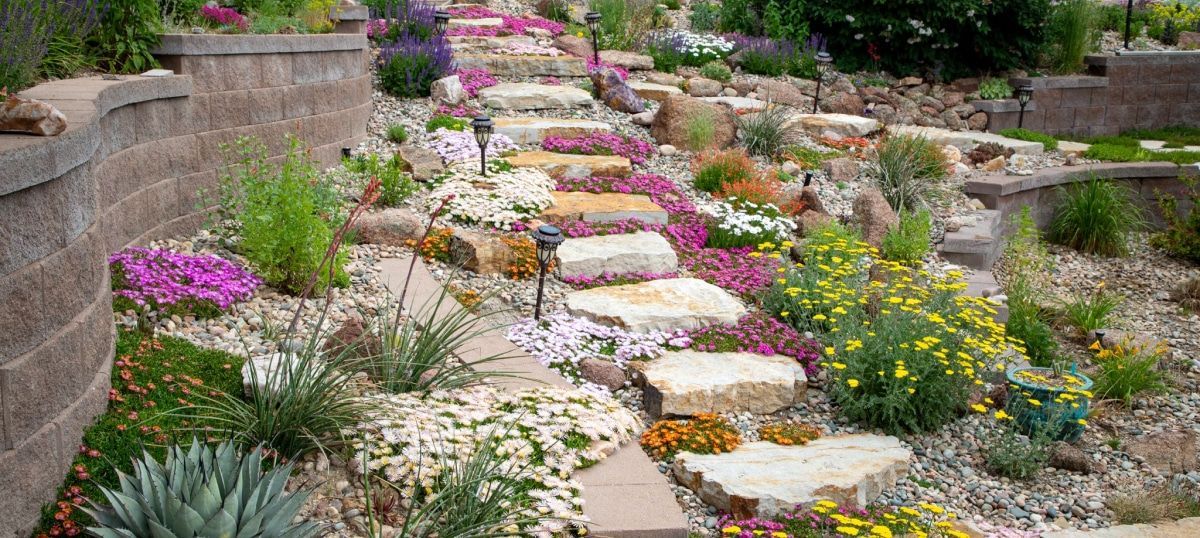
Hardscaping elements, including stone paths, pergolas, and retaining walls, introduce structure and character, while carefully selected plant groupings create harmony and texture. Proper scale, proportion, and balance are key to an enduring design that enhances both beauty and function.


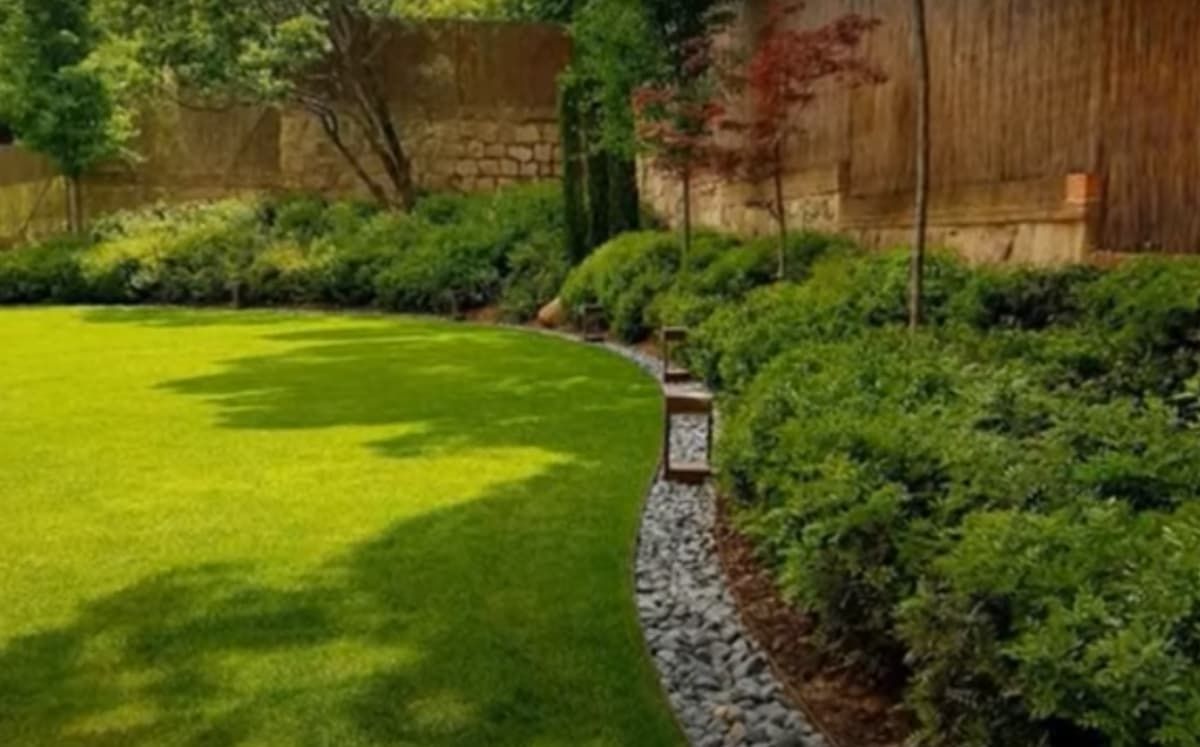
Ongoing Maintenance and Care

The final stage of the landscaping process emphasizes maintenance, the continuous care needed to preserve the landscape’s health and visual appeal. This includes:

Regular Watering and Fertilizing: Ensuring plants receive appropriate moisture and nutrients for consistent growth.

Weeding and Pruning: Keeping plants healthy, controlling overgrowth, and maintaining a neat appearance.

Seasonal Cleanup and Inspection: Addressing issues like pests, diseases, or damage before they escalate.


Routine maintenance helps landscapes mature gracefully, ensuring they remain both attractive and functional year-round.


To summarize, there are three stages of landscaping: design, development, and maintenance. Whether starting from scratch or refining an existing outdoor area, these stages ensure that every project achieves harmony between creativity and structure.


By investing in thorough planning, expert design, and consistent care, homeowners can create a sustainable and visually appealing outdoor space that enhances their property’s beauty, usability, and long-term value.


Contact Us


We’re excited to help you transform your outdoor space! Whether you're interested in a new driveway, a backyard makeover, or a custom walkway, our team at Ironwood Landscaping is here to assist you every step of the way.


📞 Call Us:  (801) 823-2939

📧 Email Us: ironwoodlandscaping.utah@gmail.com.

🕒 Business Hours:

Monday to Friday: 8:00 AM – 6:00 PM

Saturday: 8:00 AM – 2:00 PM

Sunday: Closed

📍 Visit Our Showroom:  10561 Amaryllis St, Sandy, UT.

💬 Online Form:  Use the online form to send us your details, and we'll get back to you as soon as possible. We look forward to helping you bring your landscaping vision to life!


Related Topics:


By ifo5mypo7m3orreu December 16, 2025
Landscaping a hill takes more thought than working with flat ground, but the results can be stunning. A quality landscape designer knows that success starts with understanding your hill's specific traits, such as slope, soil type, and sun exposure. From there, plant selection, terracing, and retaining walls all contribute to turning a tricky slope into something beautiful. This post covers the main steps to get your hill looking great while keeping it stable and low-maintenance. With the right approach, your sloped yard can become a real standout feature. Assess the Hill's Characteristics Before you start any landscaping work on a hill, take time to really look at what you're dealing with. Stand at the base and observe the incline, soil quality, drainage patterns, and how much sunlight different areas get. These details will shape every decision you make about layout and design. The slope's steepness indicates whether you need terracing or retaining walls. Soil quality determines which plants will actually survive there. Watching where water flows helps you avoid erosion problems down the line, and tracking sun exposure helps you place plants for the best growth. Getting these basics right sets up the whole project for success. Choose the Right Plants Wisely Picking plants for a hillside means considering slope steepness, soil conditions, and how much sun each area receives. Plants like creeping phlox, juniper, and ornamental grasses work well on slopes because they help hold soil in place. Groundcovers such as sedum or vinca can tolerate a range of soil types and spread nicely across the surface. Shrubs like yew or boxwood add stability and visual interest. Native plants that already thrive in your area's conditions require less maintenance and help the landscape blend into its surroundings. Choosing the right plants from the start means less work later and a hillside that actually looks good year after year. Design Terraced Gardens Effectively Building terraced gardens takes careful planning and smart placement of retaining walls to make the most of your space. When designing terraces, keep these points in mind: Evaluate Sun Exposure: Ensure each terrace receives enough sunlight for the plants you want to grow. Choose Appropriate Plants: Pick vegetation that fits the specific conditions on each level. Utilize Varied Heights: Add visual interest by mixing plants of different heights on each terrace. Implement Proper Drainage: Add drainage systems to prevent water from pooling and causing damage. Consider Accessibility: Plan pathways and steps so you can easily get around for maintenance. Utilize Retaining Walls Strategically Placing retaining walls in the right spots makes terraced gardens both functional and good-looking. These walls do several jobs at once: they stop soil erosion, create flat planting areas, and add structure to the landscape. When building retaining walls, think carefully about materials, height, and placement. Natural stone or timber gives you a classic look that fits in with the surroundings. Varying wall heights adds depth to the garden, and putting them in key spots can create focal points or draw the eye along the slope. Adding steps within the walls makes it easier and safer to move through the garden. Incorporate Natural Features Thoughtfully Adding natural elements to your hill design makes everything look more cohesive and connected to the surrounding environment. Pay attention to the details so everything blends smoothly. Here are some things to consider: Native Plants: Choose plants that grow naturally in your area for a cohesive look. Rock Formations: Place natural rocks throughout the design for texture and visual interest. Water Features: A small stream or waterfall can add a calming element. Wildlife Habitats: Create spaces that attract local birds and animals to strengthen the ecosystem. Erosion Control: Use natural erosion prevention methods to protect the hillside over time. Maintain and Care for Your Hill Keeping your hill in good shape means setting up a regular maintenance routine. Check the hill regularly for erosion, drainage issues, or signs of soil wear, and fix problems quickly before they get worse. Mow the grass regularly, trim the bushes, and pull the weeds to keep things looking tidy. Planting erosion-control vegetation helps stabilize the soil and prevent landslides. Feed plants when they need it and make sure they get enough water, especially during dry spells. Mulch helps hold moisture and keeps soil temperature steady. Staying on top of maintenance keeps your landscaped hill looking great for years to come. Related Topics: How Do I Lay Out My Landscaping Creative Ways to Landscape Steep Slopes
By ifo5mypo7m3orreu December 16, 2025
Transform your garden with landscape timbers using this complete guide for proper installation and design tips.
By ifo5mypo7m3orreu December 16, 2025
Follow this step-by-step guide to learn how to landscape around trees for a stunning, natural outdoor look.
By ifo5mypo7m3orreu December 16, 2025
Find ways to landscape your steep slopes creatively without the need for retaining walls in this inspiring guide.
December 16, 2025
Explore how to lay out your landscaping with these easy tips for an attractive, well-organized garden.
By ifo5mypo7m3orreu November 14, 2025
Landscape lighting boosts beauty and safety by highlighting features, guiding paths, and using efficient fixtures for a warm, inviting outdoor space.
By ifo5mypo7m3orreu November 14, 2025
Grading directs water away, prevents erosion and flooding, protects foundations, and supports healthy, attractive, long-lasting landscapes.
By ifo5mypo7m3orreu November 13, 2025
Create a backyard that’s beautiful and functional with plants, hardscaping, seating, and lighting for comfort, curb appeal, and organized outdoor living.
By ifo5mypo7m3orreu November 13, 2025
Decomposed granite (DG) is a low-maintenance, durable landscaping material for paths, patios, and yards, adding natural beauty and aiding drainage.
By ifo5mypo7m3orreu October 11, 2025
Transform your front yard with ideas from Ironwood Landscaping. Boost curb appeal, add beauty and make your outdoor space stand out.