
How to Safely and Accurately Cut Landscape Blocks
ifo5mypo7m3orreu • January 12, 2026
Cutting landscape blocks isn’t something you want to rush. A trusted landscape designer
will tell you that it’s about more than just tools; it’s about handling the blocks carefully and thinking through each step. I usually put on my goggles and gloves first, make sure the block isn’t going anywhere, and take a moment to figure out exactly where I’m cutting. Little things like that make a huge difference later, because once you start, mistakes can be frustrating to fix.
Safety Precautions
When you’re working with heavy blocks and sharp tools, safety really matters. Keep your workspace clear and make sure nobody’s wandering nearby. Secure the blocks so they won’t slip, and pay attention while using saws or chisels. Flying pieces of stone are no joke, so goggles aren’t optional, and gloves save a lot of scraped knuckles. I also like to pace myself; if I get tired, I take a short break. It slows the work down a little, sure, but it keeps the cuts clean and prevents accidents.
Necessary Tools
You don’t need a ton of fancy equipment, but the right tools make life a lot easier. A masonry saw is great for straight, clean cuts. A hammer and chisel help when you need a rough shape or small details. A measuring tape and pencil let you mark exactly where you want to cut, and a level keeps everything from sitting crooked. I keep a square nearby for right angles, too. It’s one of those small things that can save you a lot of frustration later.
Marking the Cuts
Marking the blocks carefully is where most people mess up. Measure twice, mark once, and check your lines. Chalk or pencil works fine, and I usually double-check with a square if I’m going for a right angle. Sometimes I mark which pieces will stay and which will go, which helps me not mess up mid-cut. It feels tedious, but it makes the cutting part go a lot smoother.
Cutting Techniques
Once the blocks are marked, the cutting itself is mostly patience. Scoring a line and snapping the block works for smaller pieces, while a diamond blade saw is better for straight cuts on bigger blocks. Wetting the blade helps with dust and heat. Angle grinders are good for curves, and wet saws work well for tricky notches. The main thing is not to rush. Let the tool do its job, and guide it slowly. A steady hand beats speed every time.
Handling the Blocks
Moving blocks safely keeps you and the materials safe. Check for cracks first. Bend at your knees, keep your back straight, and lift with your legs. If it’s a long walk, use a dolly or wheelbarrow. Stack the blocks gently and avoid dropping them. Even a small chip can ruin a block and make the whole layout look sloppy. Treat them carefully, and the finished space will reflect that.
Finishing Touches
Once everything’s cut and in place, the last bit is cleaning up and making it look neat. Brush off dust, apply a sealant to protect the blocks and bring out the color, and make sure the edges are defined. Then step back and look over the work. Fix any uneven spots or small mistakes before you call it done. Those little extra minutes at the end are what separate a “just done” yard from one that actually looks put together.
Related Topics:
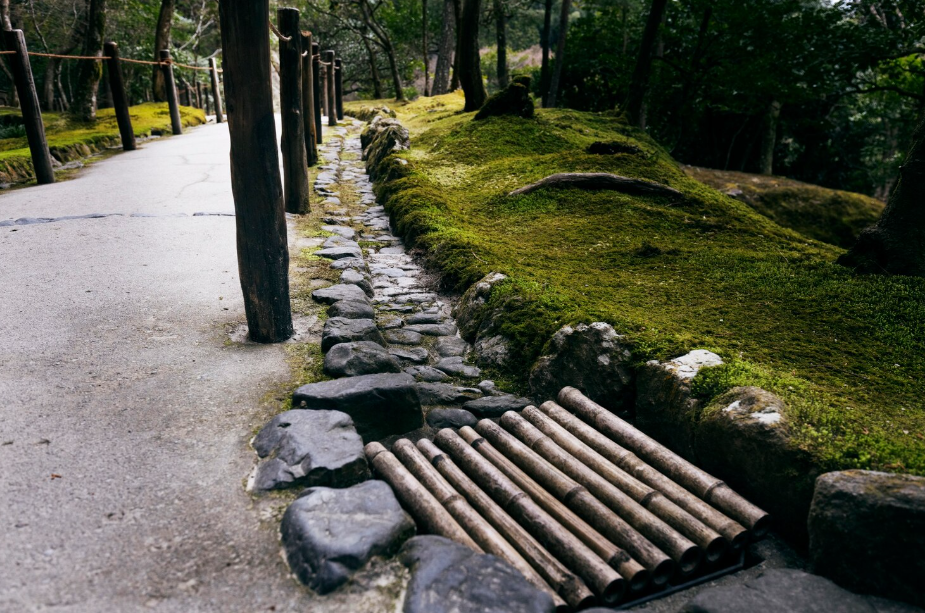
A swale is a shallow, planted channel that manages runoff, reduces erosion, improves drainage, and blends naturally into the landscape.

Learn how to cut landscape blocks cleanly using proper tools, careful measuring, and steady techniques for a polished, professional look.

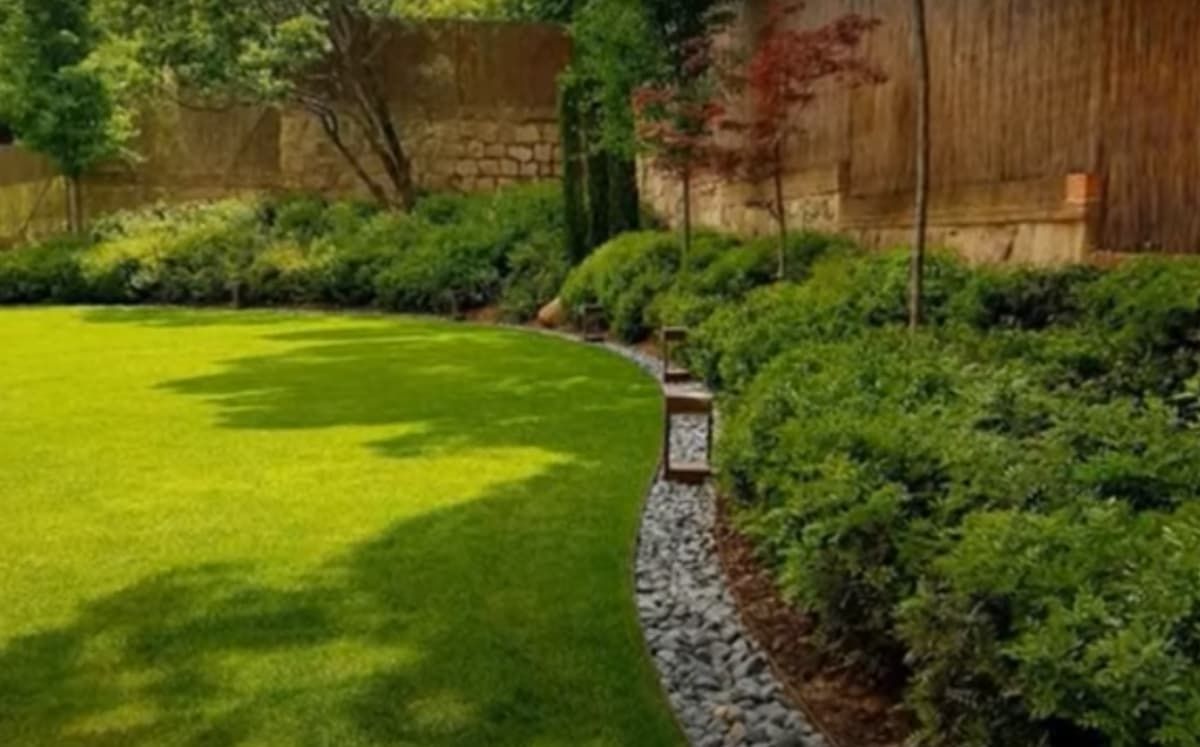
Learn how to cut landscape edging cleanly using the right materials, tools, and techniques for straight lines, smooth curves, and tidy borders.
Color, form, line, texture, and scale are the five essential elements that create balanced, engaging, and visually appealing landscapes.
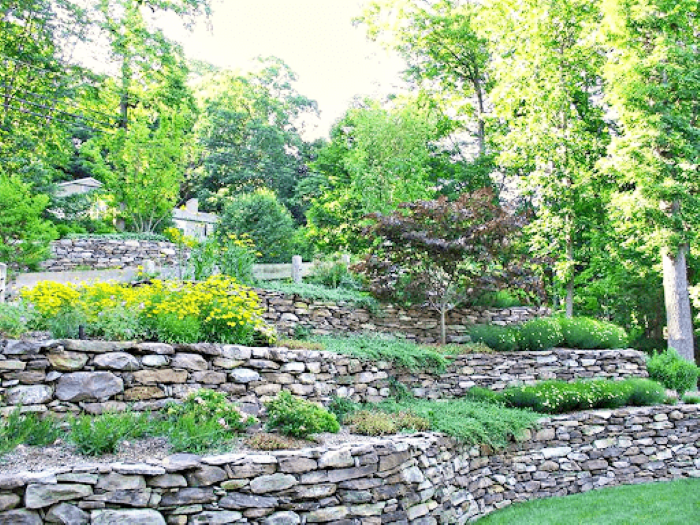
Landscaping a hill takes more thought than working with flat ground, but the results can be stunning. A quality landscape designer knows that success starts with understanding your hill's specific traits, such as slope, soil type, and sun exposure. From there, plant selection, terracing, and retaining walls all contribute to turning a tricky slope into something beautiful. This post covers the main steps to get your hill looking great while keeping it stable and low-maintenance. With the right approach, your sloped yard can become a real standout feature. Assess the Hill's Characteristics Before you start any landscaping work on a hill, take time to really look at what you're dealing with. Stand at the base and observe the incline, soil quality, drainage patterns, and how much sunlight different areas get. These details will shape every decision you make about layout and design. The slope's steepness indicates whether you need terracing or retaining walls. Soil quality determines which plants will actually survive there. Watching where water flows helps you avoid erosion problems down the line, and tracking sun exposure helps you place plants for the best growth. Getting these basics right sets up the whole project for success. Choose the Right Plants Wisely Picking plants for a hillside means considering slope steepness, soil conditions, and how much sun each area receives. Plants like creeping phlox, juniper, and ornamental grasses work well on slopes because they help hold soil in place. Groundcovers such as sedum or vinca can tolerate a range of soil types and spread nicely across the surface. Shrubs like yew or boxwood add stability and visual interest. Native plants that already thrive in your area's conditions require less maintenance and help the landscape blend into its surroundings. Choosing the right plants from the start means less work later and a hillside that actually looks good year after year. Design Terraced Gardens Effectively Building terraced gardens takes careful planning and smart placement of retaining walls to make the most of your space. When designing terraces, keep these points in mind: Evaluate Sun Exposure: Ensure each terrace receives enough sunlight for the plants you want to grow. Choose Appropriate Plants: Pick vegetation that fits the specific conditions on each level. Utilize Varied Heights: Add visual interest by mixing plants of different heights on each terrace. Implement Proper Drainage: Add drainage systems to prevent water from pooling and causing damage. Consider Accessibility: Plan pathways and steps so you can easily get around for maintenance. Utilize Retaining Walls Strategically Placing retaining walls in the right spots makes terraced gardens both functional and good-looking. These walls do several jobs at once: they stop soil erosion, create flat planting areas, and add structure to the landscape. When building retaining walls, think carefully about materials, height, and placement. Natural stone or timber gives you a classic look that fits in with the surroundings. Varying wall heights adds depth to the garden, and putting them in key spots can create focal points or draw the eye along the slope. Adding steps within the walls makes it easier and safer to move through the garden. Incorporate Natural Features Thoughtfully Adding natural elements to your hill design makes everything look more cohesive and connected to the surrounding environment. Pay attention to the details so everything blends smoothly. Here are some things to consider: Native Plants: Choose plants that grow naturally in your area for a cohesive look. Rock Formations: Place natural rocks throughout the design for texture and visual interest. Water Features: A small stream or waterfall can add a calming element. Wildlife Habitats: Create spaces that attract local birds and animals to strengthen the ecosystem. Erosion Control: Use natural erosion prevention methods to protect the hillside over time. Maintain and Care for Your Hill Keeping your hill in good shape means setting up a regular maintenance routine. Check the hill regularly for erosion, drainage issues, or signs of soil wear, and fix problems quickly before they get worse. Mow the grass regularly, trim the bushes, and pull the weeds to keep things looking tidy. Planting erosion-control vegetation helps stabilize the soil and prevent landslides. Feed plants when they need it and make sure they get enough water, especially during dry spells. Mulch helps hold moisture and keeps soil temperature steady. Staying on top of maintenance keeps your landscaped hill looking great for years to come. Related Topics: How Do I Lay Out My Landscaping Creative Ways to Landscape Steep Slopes
Transform your garden with landscape timbers using this complete guide for proper installation and design tips.
Follow this step-by-step guide to learn how to landscape around trees for a stunning, natural outdoor look.
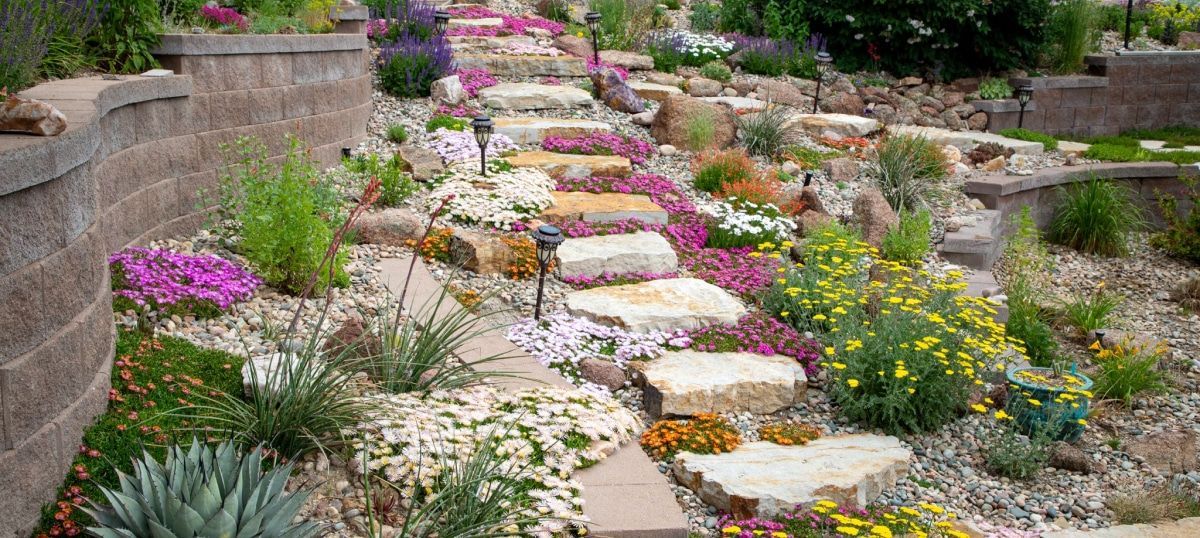
Find ways to landscape your steep slopes creatively without the need for retaining walls in this inspiring guide.
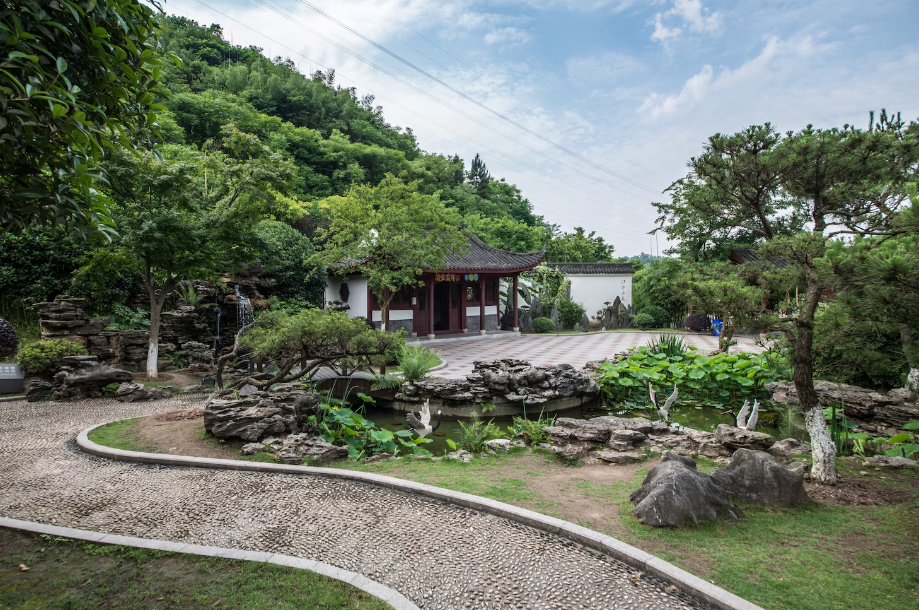
Explore how to lay out your landscaping with these easy tips for an attractive, well-organized garden.

Landscape lighting boosts beauty and safety by highlighting features, guiding paths, and using efficient fixtures for a warm, inviting outdoor space.


