How to Install Landscape Edging: A Step-by-Step Guide
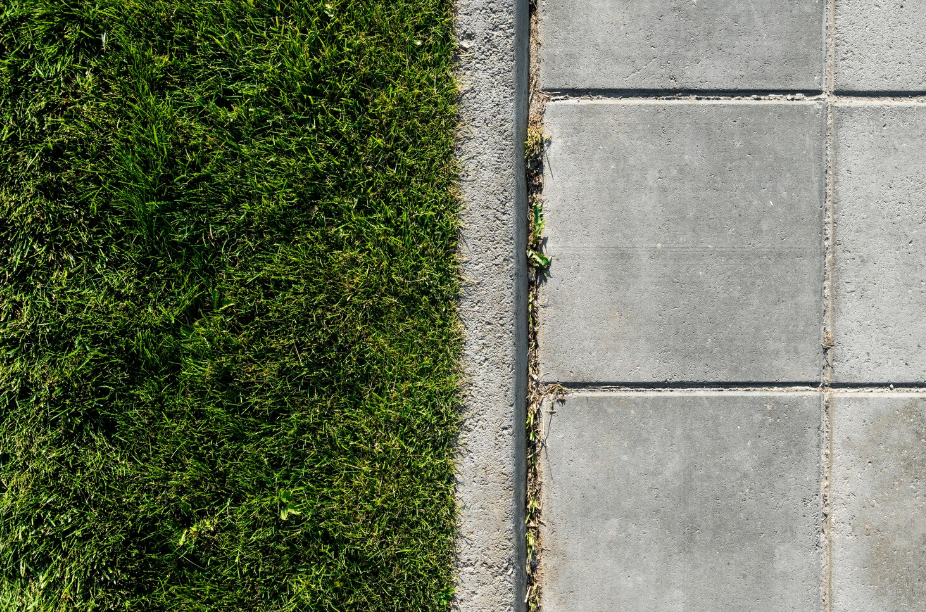
Working with a reliable landscaping company can help you create crisp, well-defined borders that make your outdoor space feel tidy and complete. Landscape edging serves both practical and aesthetic purposes, offering a clear division between lawn and garden while improving the overall flow of your yard. This article outlines each step of the edging process, from selecting materials to final touches, to help you install clean lines that last over time.
Selecting the Right Edging Material
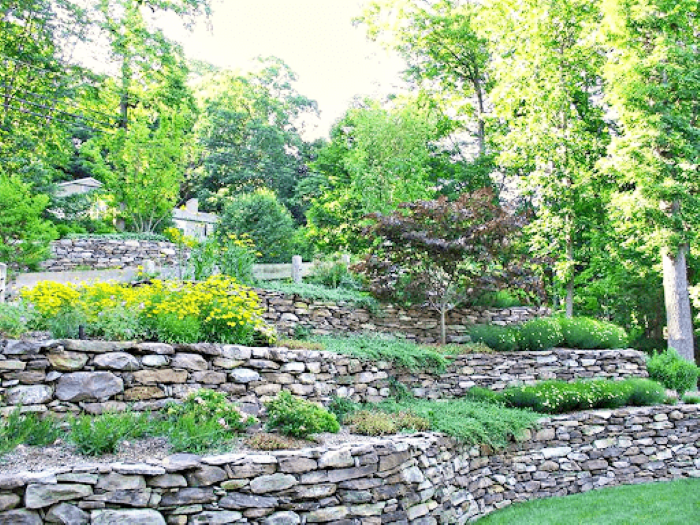
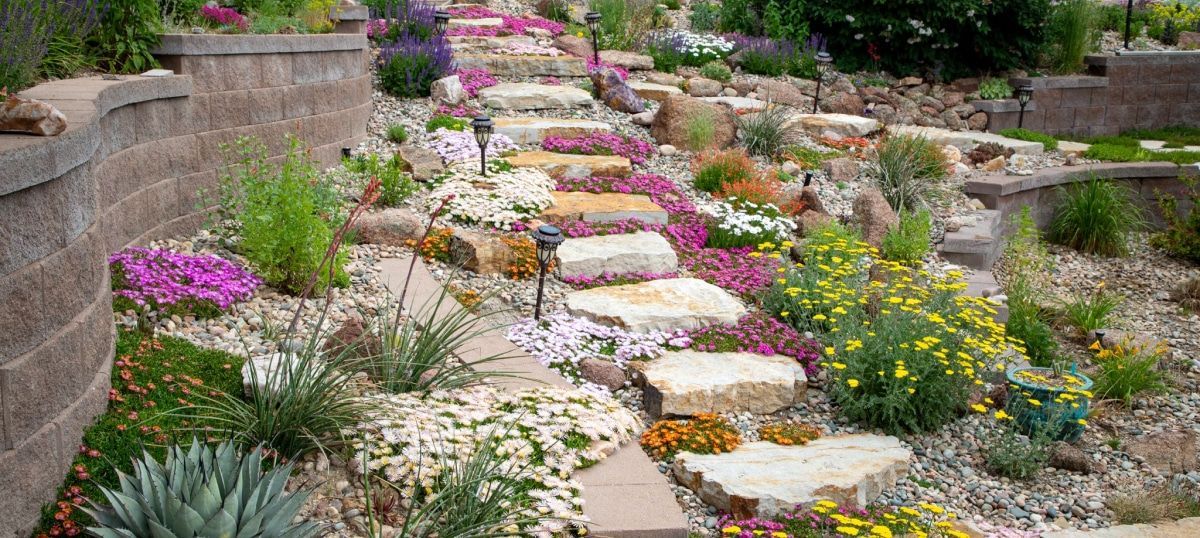
Choosing the right edging material plays a major role in how your project turns out. Consider both your yard's design and the level of upkeep you're willing to manage. Brick and concrete pavers are known for their durability and structured appearance. They work well in formal gardens and offer a long-lasting solution, although they may shift slightly and require repositioning after a few years. Natural stone adds texture and a rustic quality with minimal maintenance. For those looking for an organic feel, wood provides warmth but should be treated and checked regularly for decay. Sleek finishes can be achieved using metal or flexible plastic strips, which are easy to install and maintain, especially in modern-style gardens. Each material offers its own unique look and level of maintenance, so it's worth considering the long-term effect you're aiming for. If you’re unsure which material best complements your yard, consulting a
landscaping company can help you choose options that balance appearance, durability, and maintenance needs.
Measuring and Planning Your Edging Layout
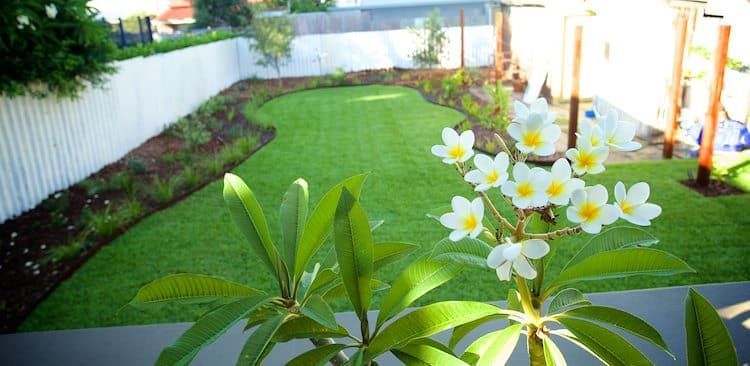
Before digging in, proper planning makes all the difference in how smooth and cohesive the final result appears. Start by measuring the entire length of the space where the edging will go. A tape measure works well for straight paths, while a garden hose or string can help visualize curves and turns. If your yard features rounded beds or winding paths, flexible edging materials will make installation much easier. Think through how deep you want the edging to sit, shallow installations may shift over time, while deeper ones offer more stability and containment. Accurate planning helps ensure that your layout doesn't just look good but also functions well across seasons. Professional
landscape design and build teams can assist in creating a layout that not only looks cohesive but also integrates seamlessly with the rest of your outdoor space.
Preparing the Edging Site
Taking time to prepare the site is key to getting a clean, lasting result. Begin by removing grass, roots, or stones along the intended path. This not only clears the way for your edging but also helps avoid future shifts. Use a garden hose, rope, or marking spray to outline the border where the edging will be placed. Once the layout looks right, use a spade or edging tool to dig a trench deep enough to anchor your chosen material. The trench should be wide enough for the edging to sit level and straight, even on uneven ground. Getting this step right sets the foundation for the rest of your installation. Many
backyard contractors also recommend proper soil leveling and compaction during this stage to prevent future shifting or drainage problems.
Installing the Landscape Edging
Start placing your edging into the prepared trench, ensuring it lines up with the border you marked. Each section should sit snugly against the soil without gaps. If your design includes bends or arcs, gently bend or adjust the material to match the curves while keeping the top edge even throughout. Take the time to ensure your placement remains true to your original layout. Misaligned edging can throw off the entire appearance of the border, so stop occasionally to check for straightness and symmetry. A consistent look from start to finish helps elevate the overall design of your space. For more extensive outdoor projects, such as pathways or borders around driveways, you may want to coordinate this step with experienced
concrete driveway contractors in Sandy UT to maintain consistent alignment and finish.
Securing the Edging in Place
Once everything is lined up, securing the edging properly helps it stay that way for the long term. Use stakes, anchor pins, or connectors that work with your material. These should be inserted at regular intervals along the inside edge and at each end of a section. For metal or plastic edging, place the stakes through the designated holes, then tap them gently but firmly into the ground with a rubber mallet. The goal is for the stakes to sit flush with the top of the edging, offering support without being too noticeable. When the material is well-secured, it resists shifting from foot traffic, water, or weather changes.
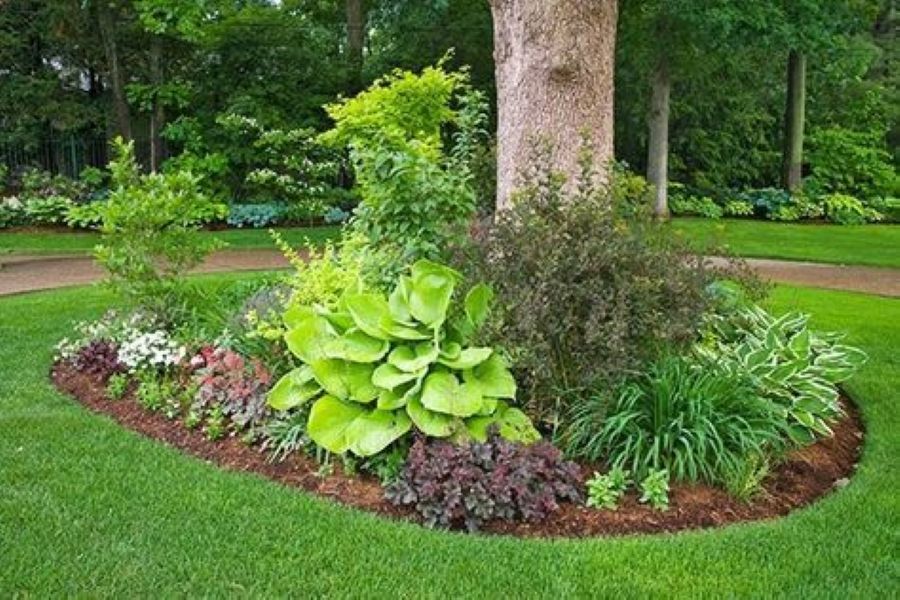
Adding Finishing Touches
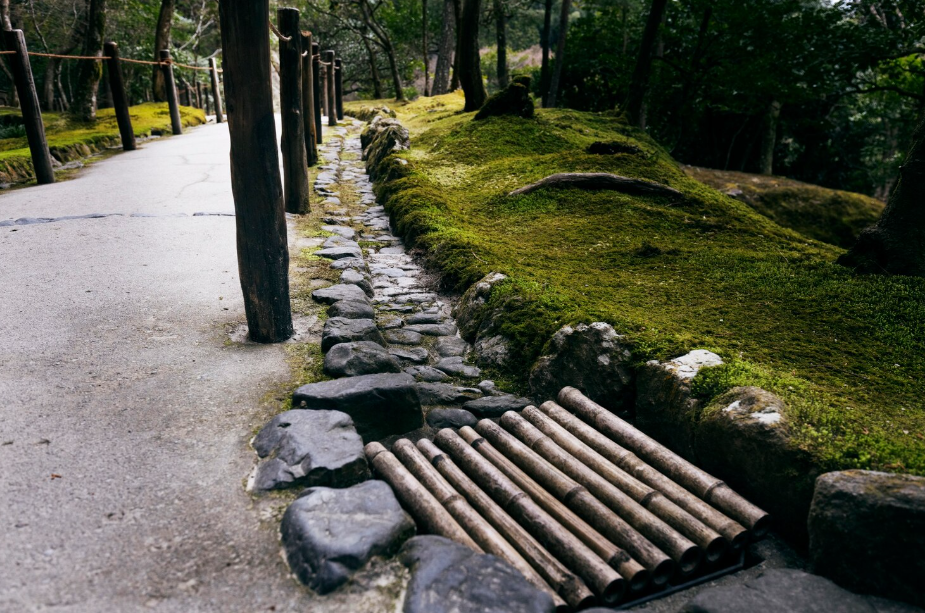
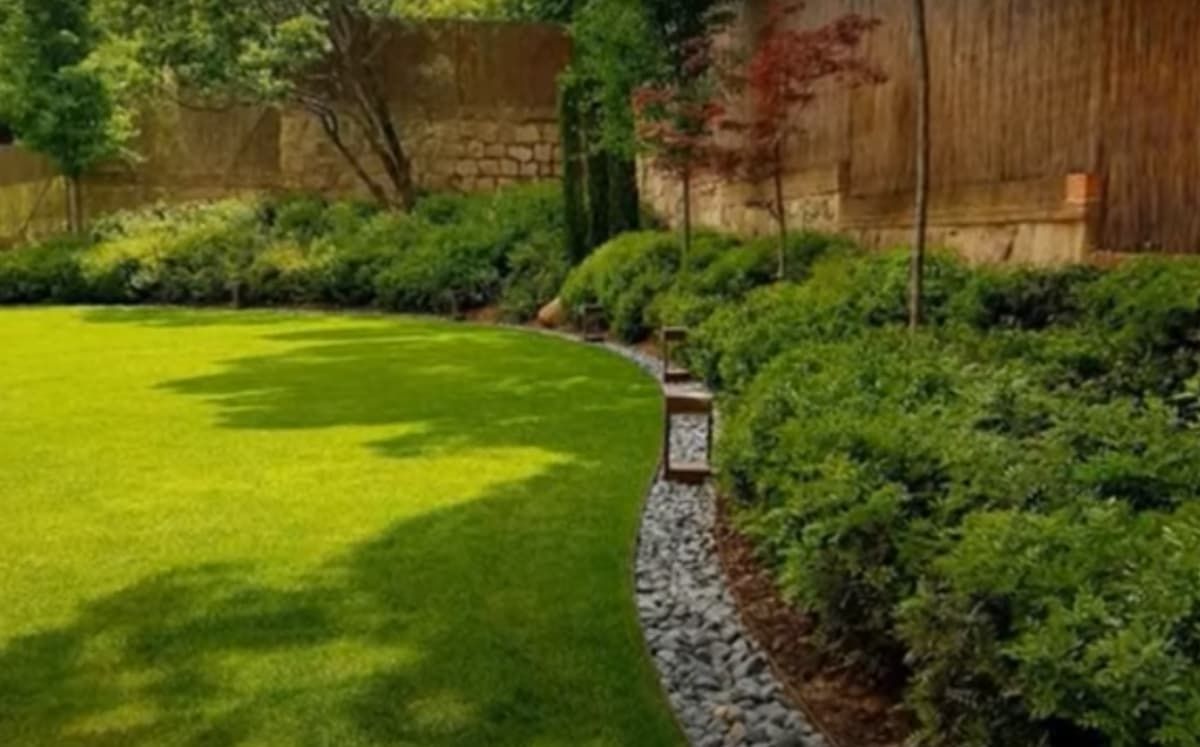
Now that the edging is secure, adding simple finishing elements can improve both appearance and function. Spreading mulch along the edge helps create a tidy visual line while also locking in soil moisture and reducing weed growth. Decorative stones can also be arranged along the border, offering a natural contrast and giving the edge more presence. If you'd like to soften the transition between the lawn and garden beds, consider planting low-growing flowers or small shrubs near the border. These additions make the edging feel like a natural part of the landscape rather than a separate feature.
Related Topics: